


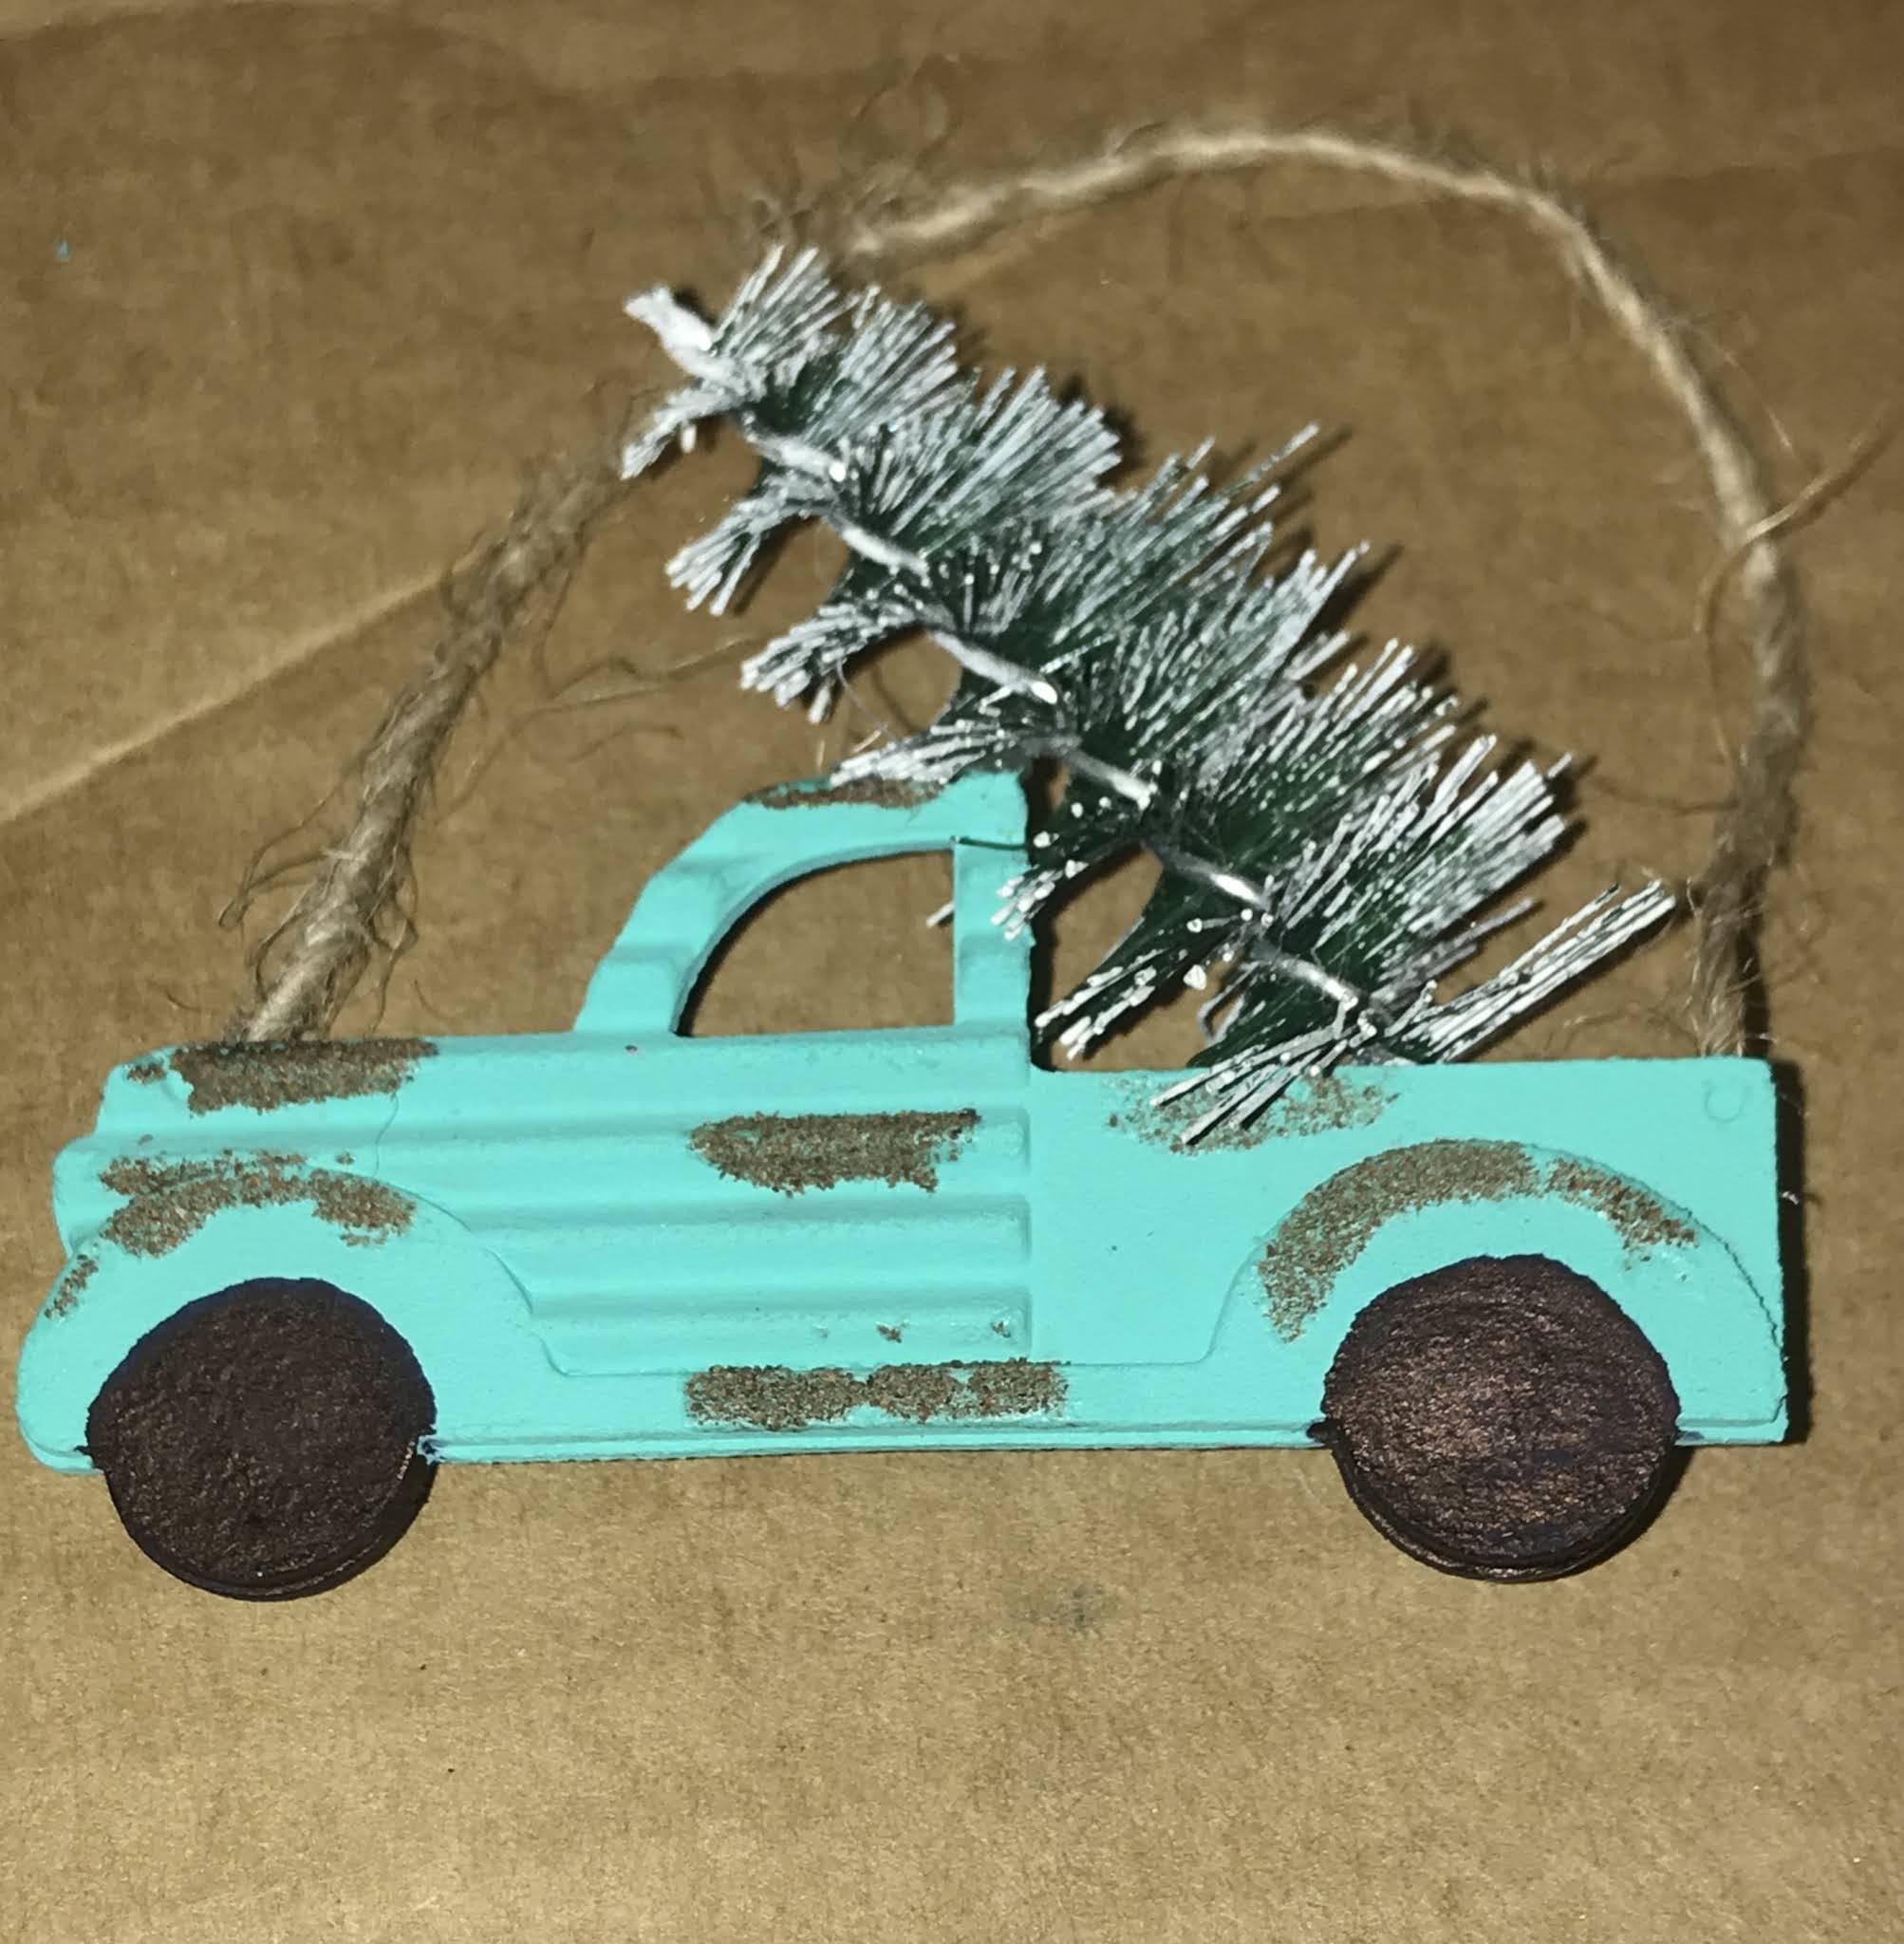
 The thrift store wasn’t as great as I had anticipated, but I did manage to score a few vintage glass balls that I needed. Finally picked Santa up, I was so grateful that I was gifted him, that I left the woman a little truck ornament that I had made, as a thank you.

The road trip had ended and I was happy with the days findings, but I still needed a lot more. A few days later we went to a local antique flea market. As soon as I walked in the door I zeroed in on another vintage Santa ornament! I had to get him, it was $6 but they are scarce. I also found an old angel with drum and another Santa ornament, they had to come home with me, I couldn’t leave them.
Getting excited that my collection was growing, but I still needed more more more! I went to a few local thrift stores and found some more vintage glass balls and also this amazing bag of elf heads for $0.50! I wonder what happened to their bodies 🤷♀️

Late one evening I was scrolling through Facebook and came across a post on a free stuff group. The woman was giving items away that belonged to her late cousin who recently passed. RIP DAWN. I looked through the photos and there were 2 lots of vintage ornaments! I messaged her and arranged for pickup. Turns out, I went to school with Dawn, I remember her as always being very happy and doing anything she can to help people.
I had a different design in mind for my wreath, but when I received Dawns ornaments, my vision changed. These ornaments were exactly what I was missing and tied the whole thing together. This is why I only used one of my vintage Santas, but don’t worry, I have big plans for the ones left over!
The first step of making the wreath was to secure the vintage garland. I did that. I was so scared to start gluing on the glass balls! I was afraid of breaking them or not liking the way it looked. Finally one day I picked up my Ryobi cordless glue gun and started attaching the balls to the wire wreath frame I bought at Dollar Tree (the only item that isn’t vintage!) it took me months to collect all of the ornaments, 2 evenings to put it all together, and I will cherish it for a lifetime. I hope you like it!

As I reflect over the past year, there have been a lot of changes in my life; I was laid off from my cushy office job thanks to stupid Covid, and now I’m a roofer! Yep, 40’ ladders, harnesses, rope grabs, the whole bit! I’m completely certified for working at heights and I actually enjoy it! We own our own business and it’s doing pretty good!
I’ve accomplished a lot this past year, some big, some small, but things I’ve never done before including assisting in birthing kittens, learning how to pull both an enclosed and a flat bed trailer behind a pickup truck (no, not at the same time!!!), I learned how to shingle (and I’m actually pretty good at it!) I watched the whole Tiger King series (I don’t know if that’s something to “brag” about though! The other day I tried out a hoverboard! That reminds me, I need to order some new trim for in the kitchen (oops!). I’ve supported local like never before, we put in a vegetable garden (it didn’t do very well, however the pot did extremely well!!!), we put in a pool, we tried delivering for Door Dash before it went all to shit (Door Dash, not us!), I took my 15yo son and his friend downtown and to a homeless shelter to hand out care packages, I biked 13km on a local trail (man, I was sore for like 3 days after that!). I baked bread from scratch, I delivered Christmas hampers for a local restaurant for those in need, and to finish off the year my house was nominated as one of the best decorated! The local news came and did their weather segments on my front lawn!
So it’s been a bitter sweet year. I am thankful that my family and friends are all safe and healthy, I miss them, we talk all the time but it’s not the same without the whole family together at Christmas and Thanksgiving, but it had to be that way so we can all be together next year.
I hope you are all doing well and have found some positive in such a negative, unknown, scary situation.
I will try to post more regularly (ya, I know, I say that all the time!) but there are so many things I want to show you, like my new tea towel designs and my gorgeous vintage Christmas ornament wreath, and my roofing skills!
Have a safe and Happy New Year!


 Leave it to me to not post in forever, but I've been extremely busy lately! I was gifted a Cricut machine last year for my birthday and decided to try and make these hilarious tea towels, and they're huge hit! They are currently being sold at Fishtale Shop on Wolfe Island (ON, Canada) and I also have an Etsy store that I am constantly adding to check it out HERE.

 These are completely customizable, I have done personalized ones for weddings. Send me an email if you have something in mind, I would love to create some for you!
 It was a slow giveaway day; my 12 year old son and I were out bright and early hoping to find some treasure. We found a few small odds and ends but nothing too spectacular, until...our way home! I spotted these chairs a mile away and couldn't get to them fast enough! My son jumped out and immediately started loading them into the car, it was like a furniture game of tetris, but we managed.
 I am so happy with the results! I have 2 completed so far. I swear we found 4 chairs that day, but after several attempts of rummaging through my basement and shed, I am convinced I only have 3, which makes me really sad, but at the same time allows me to find 2 more similar press backs and paint them the same color. In fact...I do have 2 more that I found on a yard sale site for $20 (I know, they weren't free but I HAD to have them to go with these ones! See photo below)


 - Drill (mine came with a handsome helper!!!) (no just kidding, he was separate but I figured since it was his drill, he would like to use it!)
 1. Remove plastic handles from pumpkin pails and discard/recycle/do what you want with you don't need them!
Are you planning to have a pet dog at home? Before you even say yes, make sure that you are responsible enough to take care of it. Dogs might be fun and playful, but they are also sensitive. This is true when it comes to the food they eat. They are not like humans that can eat almost anything. There are certain foods that dogs just can’t eat.
There are others that may even die of complications due to the content of certain dishes that they have eaten. This is why you need to understand the types of food that dogs can eat and what they can’t. It is extremely important that you pay attention to what you put on their bowl. Otherwise, they might get ill or worse, die.
For humans, eating fruits is totally recommended due to their nutritional value. The same can’t be said for dogs. There are certain types of fruits that are highly recommended such as bananas. Others fruits like apples are allowed, but only in moderation. However, grapes should be totally avoided. This could lead to poisoning.
This is just an example on the types of foods that dogs can eat and what are considered toxic for them. There are many other examples that you must be aware of. To make it easier for you, we have compiled an infographic below to help you out. This explains clearly the food groups.


 Day 8: So I didn't end up pulling yesterday at all...BAD idea! this morning I woke up with "death breath" that everybody does in the morning, so I pulled for 25 minutes while I was getting ready this morning. After my morning coffee, I had coffee breath,
  Need helping finding a good coconut oil? Reviews.com tested 6 different kinds of coconut oil and found 2 that taste and feel great. Click here to discover the best coconut oil!


 I have always loved photography, ever since my high school photography class with Mrs. Forrester! I don't have the time (or patience!) to carry around a traditional camera, so I use the next best thing, my iPhone! I am a bit behind in the times as some would say, as I only have an IPhone 5s!, before that I was using a 4, what are they up to now, 7? 8? Who knows! The photos I am posting have ALL been taken with my iPhone, and a little help from Instagram filters. That's it! I am not an expert, I am not a professional, I don't consider myself to be a photographer by any stretch, but I have taken some pretty great photos with my iPhone and I get a lot of comments on them, I was even a finalist in a local photo contest and nobody could believe it was taken with an iPhone, that one in particular, my 4s. There are way too many awesome photos to post at once, so I will post some for now, and many more another time!


 Chobani has some great info on their website including healthy recipes, nutrition information, and so much more. Check it all out HERE.